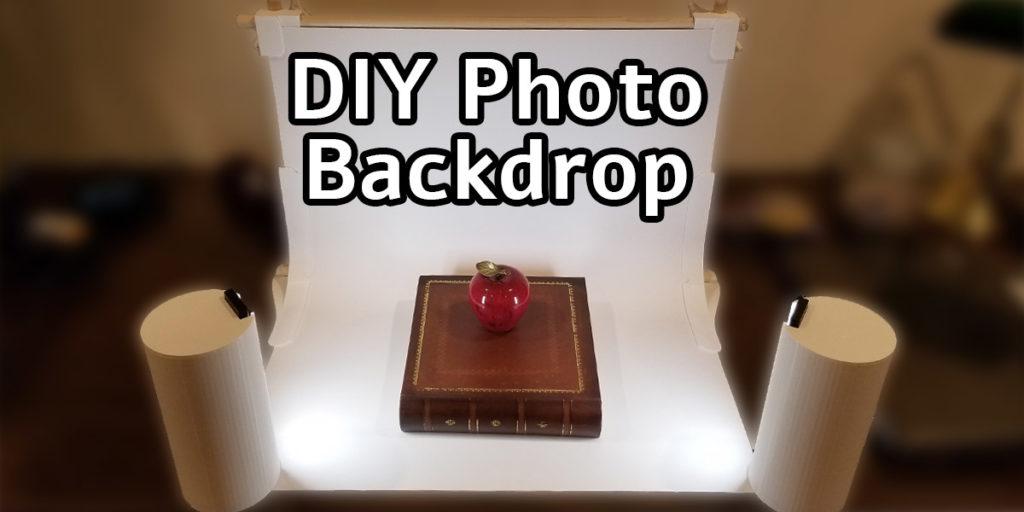
A DIY photo booth backdrop is an excellent way to take great, professional looking photos, without having access to expensive camera gear. Really, all you need is a simple infinity wall and some soft lighting. With this basic setup, you will be able to churn out amazing photos with any camera made in the past 5 years, even smartphone cameras.
To create this handy DIY photo booth backdrop setup, you will need a couple pieces of poster board, some pipes or dowels, a few light bars and a couple of 3D printed parts. Then it is just a matter of setting everything up and snapping some beautiful shots! Follow along and build your own DIY photo backdrop setup.
Table of Contents
This post contains affiliate links, which means I may receive a small commission, at zero cost to you, if you make a purchase through a link.
A ‘Professional’ Photo Backdrop/Studio
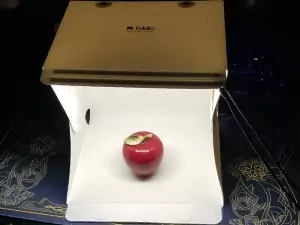
I have one of these Foldio 1 Portable Photo Studios and I love it. It has two LED strips that provide a really good source of lighting and everything folds up to roughly the size of a notebook binder. The only issue is that this thing is small. Like really small. The entire box is only ~10.25 inches tall, wide and deep. This portable photo studio is great for really small objects, such as the apple shown in the photo.
But if you want to capture larger objects, this particular model just won’t cut it. Foldio does have a few larger options, appropriately named the Foldio 2 and Foldio 3, but the price on those models are so much higher than the price on the Foldio 1. That is the reason I started looking for a DIY photo booth backdrop.
The Entire DIY Photo Booth Backdrop Setup
This DIY photo booth backdrop setup includes the actual DIY photo backdrop along with some stands for a few LED light bars. Together, you have an infinity wall and a source of soft light to highlight your subjects. To start things off, lets discuss the DIY photo backdrop.
The DIY Photo Backdrop
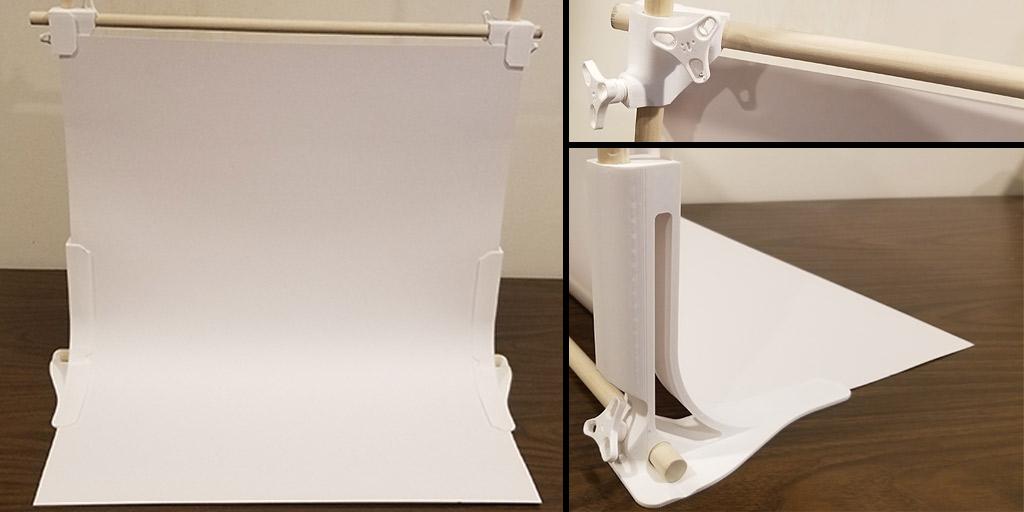
The first piece of our entire DIY photo booth backdrop setup is the actual backdrop itself. This is constructed using 3D printed parts, a dowel or pipe and finally a piece of paper/poster board. I printed mine in white PETG but PLA, or any other material really, should work just fine. The actual 3D models can be found on the Expandable Photo Studio Printables page. This awesome design was created by user 3db.creation.
This backdrop requires a 16mm pipe for assembly. However, if you have a Home Depot close by, this 5/8 inch wooden dowel is what I used and works perfectly. You will need 2x of them, and they will also need to both be cut in half, leaving you with 4x 24 inch pieces. This dowel fits loosely inside all of the parts and the screws tighten everything up so nothing moves. For the paper/poster board, I just got a few sheets from my local Dollar Tree. Most big box stores should have this if you do not have a Dollar Tree close by. I got a white sheet, a black sheet and a green sheet.
Printing Instructions for the Expandable DIY Photo Backdrop
Here are the instructions for printing all the pieces of this DIY photo booth backdrop. This will require 2-3 separate prints, and depending on your printer and print settings, these may be rather long prints. Using my Bambu Lab X1 Carbon, all parts took about 11 hours total, spread over 4 separate prints.
There are a two different feet you can print, depending on what type of dowel/pipe you are using. Also, there are two different bolts you can print, depending on your printer and printer’s tolerance settings. Here are the exact parts I printed if you end up using the same 5/8 inch dowel mentioned above:
- photobooth_base_l.stl
- photobooth_base_r.stl
- photobooth_top_l.stl
- photobooth_top_r.stl
- bolt.stl OR bolt_looser.stl
DIY Photo Backdrop Feet
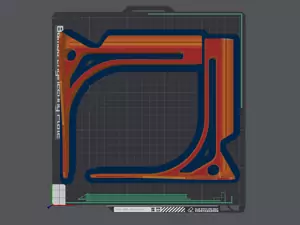
For the feet of the DIY photo backdrop, I positioned them on my bed to form a square so they would both fit and print at the same time. The slits on the feet where the paper slides in are very thin and don’t attach to the main part of each foot until towards the end of the print, so they are isolated from everything else for a while.
For this reason, I used 10mm brim, both inner and outer and no other supports. The entire print was done with a 0.4mm nozzle and set to a 0.20mm layer height. I also upped the wall count to 4 to add a bit more strength, especially in the threaded holes and kept the infill percentage at 15.
DIY Photo Backdrop Top
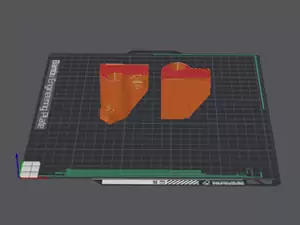
The top brackets of this DIY photo backdrop are printed with the same settings as the feet, minus the need for any brims. Despite the ~45 degree angle, you shouldn’t need any supports for these two parts. Just orient them the same as the slicer output in the photo and you should be good to go.
These were printed using a 0.4mm nozzle at 0.20mm layer height. I opted to go with 4 walls again, to give extra strength to the threaded holes. For the infill, I stuck with my slicer’s default, which is 15%.
DIY Photo Backdrop Bolts
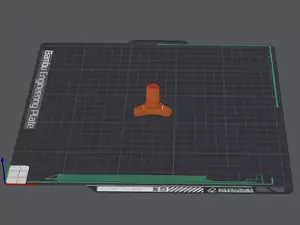
There are two different bolts in this DIY photo backdrop design. A regular bolt and a looser bolt. I would highly recommend printing one to start with, and then test fit to make sure it is going to work before printing the rest. In total, you will need 6x of these bolts. I printed the regular bolt once and then tested it. It fit perfectly and then I proceeded to print the last 5x together once I knew this was the one I needed.
For the test print, and the final print, I used a 0.4mm nozzle and set the layer height to 0.08mm. I wanted as much detail as possible on the bolt threads. I also upped the wall count to 17 so the threads would be 100% solid, with no infill, to give them extra strength. Finally, no brims or support were needed.
Soft Lighting for the DIY Photo Booth Backdrop
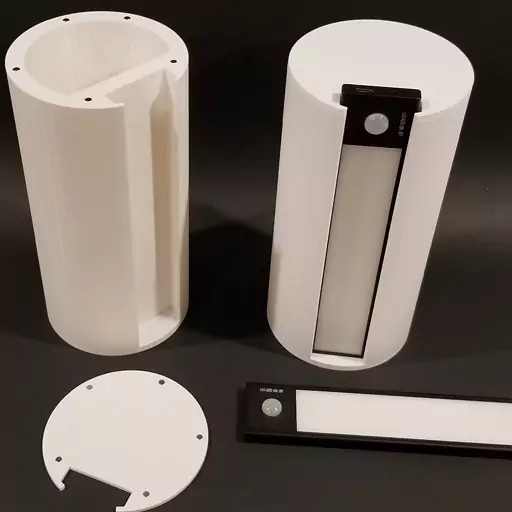
Now that the DIY photo backdrop has been sorted out, next up is the lighting for our DIY photo booth backdrop setup. I had some cabinet LED light bars from a few years ago that I wasn’t using that I figured would be perfect to use with my photo studio. I quickly made an enclosure for them so they could stand up (and not tip over) and that is what you see here. The specific light bars I purchased are no longer available, but I did find a newer version LED Light Bar that will fit these enclosures, if you’re in need of some lighting.
Here are the 3D models for the light bar enclosure. These are pretty large pieces and the insides have been hollowed out to save on time and filament. I decided to make an optional lid for them as well that allow for 4x2mm magnets to be fitted in to keep the top on securely. You certainly don’t need the lids, but with them, this can double as a small storage container with a closable top.
For printing the light bar enclosures, I just used a 0.4mm nozzle and a 0.20mm layer height and let the printer do its magic. No supports or brims are needed. If you do decide to print the lids, print them with the holes for the magnets facing up.
Sample Photos Using the 3D Printed Photo Studio
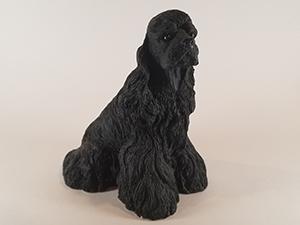
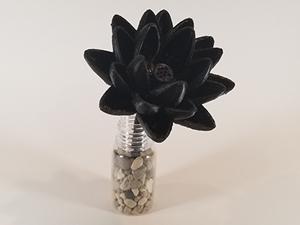
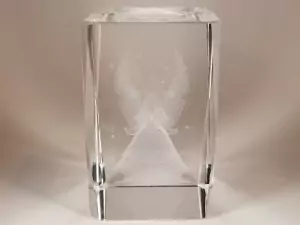
Now that the entire DIY photo booth backdrop setup is complete, how well does it actually function? Well, I’d say it functions perfectly. I am including a few sample photos below using the whole setup so you can see a real example of everything. Could this DIY photo booth studio be better? Sure, but considering I only spent $8 total on this project, I am thrilled with the results!
Using the DIY Photo Booth Backdrop and Creating Sample Photos
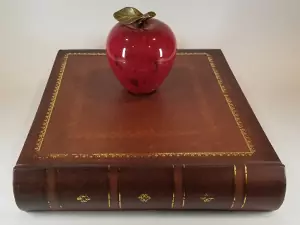
For the first sample photo, I took a picture of an apple sitting on top of a book. If you scroll to the top of this article and look at the main photo, you’ll notice this exact apple and book being displayed. I just positioned my phone up closer to take the shot with the soft lighting illuminating the subjects.
The only editing on this photo that was done was cropping it to size and removing the parts of the photo outside of the backdrop. If I wanted to, I could edit the backdrop itself and remove some of the dark spots, but I wanted to show the raw results, unedited.
Here are a few more, cropped, but otherwise unedited photos as well!
Sample Greenscreen Photo Using the DIY Photo Booth Backdrop
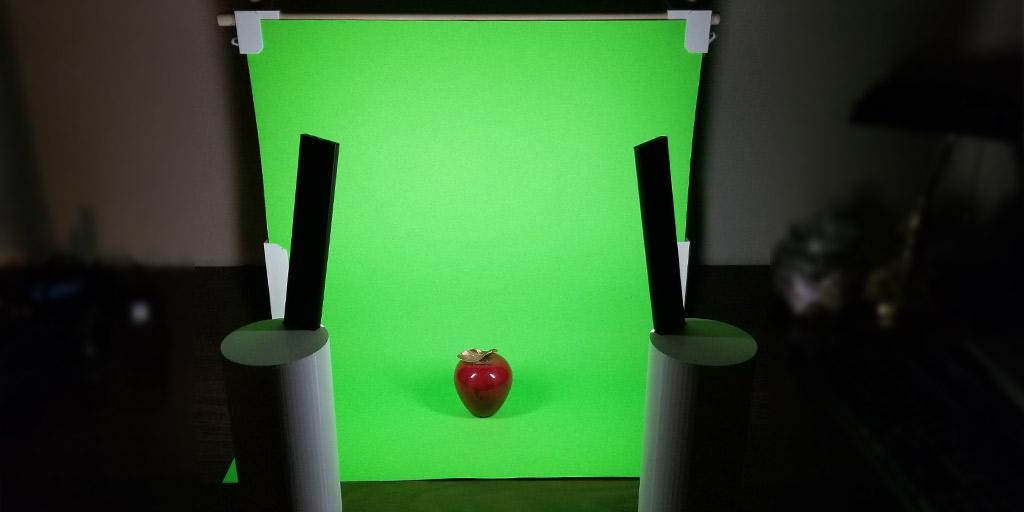
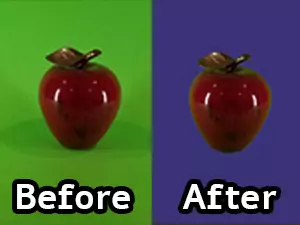
For the next sample photo, I wanted to try out using a greenscreen. I took off my regular white poster board from my DIY photo backdrop setup and placed a green poster board in its place.
I then placed down the apple and took a picture of it. Let me first start off by saying, I am not an expert when it comes to photo editing.
With that being said, I tried my best to remove the greenscreen and place the apple in front of a new background. In this example it is just a purple background for demonstration purposes. The takeaway here is that you can setup your own greenscreen using this DIY photo booth backdrop setup really easily!
Wrap Up
With a few 3D printed parts, you can build your own DIY photo booth backdrop setup along with a few other commonly found items. Create a fantastic DIY photo backdrop using a wooden dowel or some piping and a few sheets of poster board. Then, if you do not have any soft lighting, you can grab a few LED light bars and 3D print a nice enclosure to use as your photo studio’s lighting setup.
I hope you have enjoyed this simple, yet awesome DIY project. If you do end up building this DIY photo booth backdrop setup, or something similar, let me know how you like in the comments! I am finding mine extremely useful, especially for larger subjects I am wanting to photograph. Thanks for reading and happy tinkering.
You May Also Enjoy

Leave a Reply